
Season 3 Guide
The Best Last War Survival Season 3 Week 1 Guide: Buildings, Sandworms, and Map Strategies
A complete Last War Survival Season 3 Week 1 guide covering Blessing Fountains, the Curse Research Lab, Protector's Field buffs, Greenification, Sandworm Crisis rules, Desert Bazaar priorities, map expansion, professions, and early spending choices.
Last War Survival Season 3 opens the Golden Realm with a new desert map, new seasonal buildings, a Curse Resistance progression loop, alliance territory mechanics, and a Sandworm Crisis that can punish players who ignore positioning.
This Season 3 Week 1 guide turns the opening systems into a practical checklist. Focus on the Blessing Fountain and Curse Research Lab loop, build Protector's Field value before major fights, use Greenification at the right time, and keep your base inside alliance territory so Sandworms do not ruin your map tempo.
Key takeaways
- The Blessing Fountain and Curse Research Lab form the most important Week 1 progression loop because Sacred Water becomes Curse Resistance.
- Protector's Field buffs should be saved for meaningful alliance fights, high-level objectives, or PvP pressure instead of low-value farming.
- Greenification is both a territory mechanic and a strong stamina sink, especially during Stamina Arms Race windows.
- Alliance Center territory is your safest parking zone because it gives useful buffs and protects your base from giant Sandworm knockbacks.
Part 1: Build the Blessing Fountain and Curse Research Lab Loop First
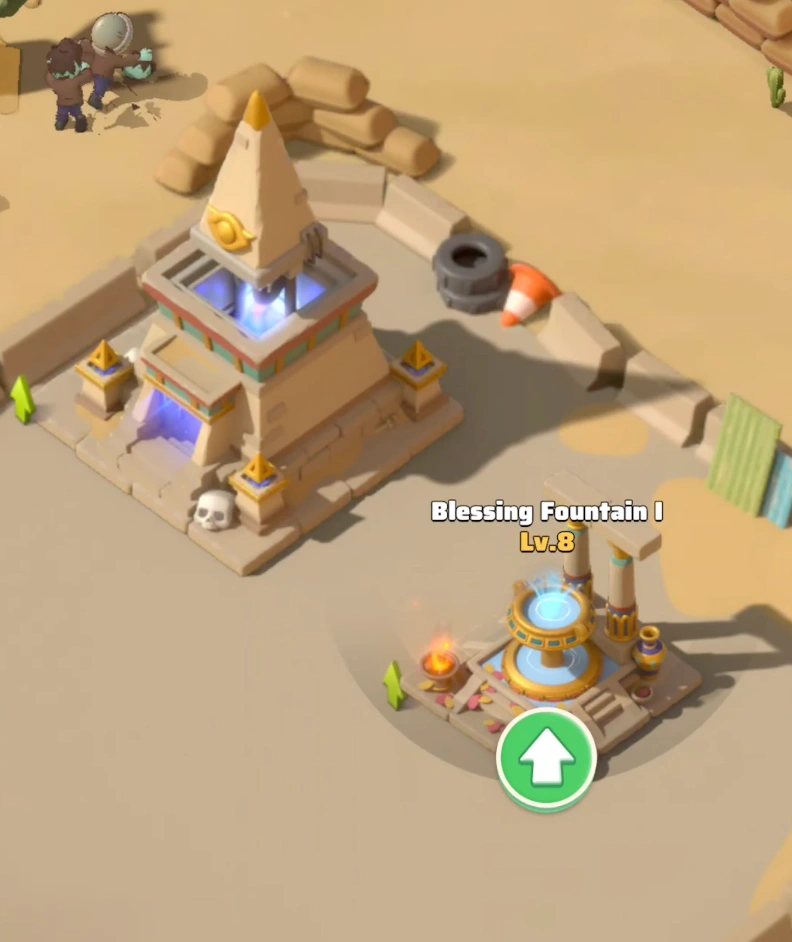
Season 3 Week 1 starts inside your base. Your most important early routine is the resource loop between Blessing Fountains and the Curse Research Lab. Blessing Fountains produce Sacred Water, while the Curse Research Lab consumes Sacred Water to raise your Curse Resistance.
To upgrade a Blessing Fountain, you need Mithril. The main early sources are map zombies and elite bosses, so your PvE routine directly feeds your building progress. Your first Blessing Fountain reaching Level 15 unlocks the second fountain, and you can unlock up to three for free. A fourth fountain is tied to the Weekly Pass.
The Curse Research Lab is the building you cannot afford to neglect. Curse Resistance determines how comfortably you can fight higher-level zombies, join or launch Doom Elite rallies, and attack map objectives such as Dig Sites, Villages, Cities, and Altars. If your resistance is too low, you will trade progress for unnecessary troop losses.
- Upgrade Blessing Fountains to keep Sacred Water income moving.
- Spend Sacred Water into the Curse Research Lab instead of letting resistance fall behind.
- Check Curse Resistance requirements before attacking seasonal PvE or map objectives.
Part 2: Use Protector's Field Buffs at the Right Moment
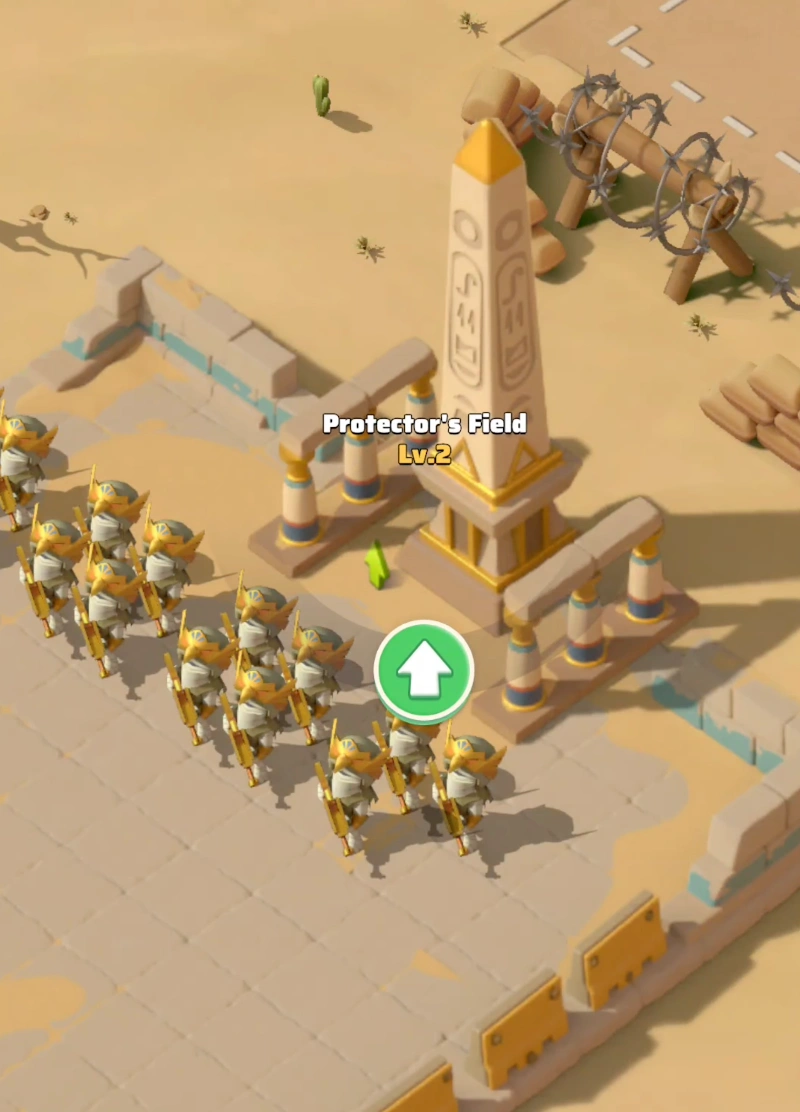
Protector's Field is one of Season 3's most important new mechanics. When troops die in battle, they can appear as Protectors in this base system. Alliance friends can recon and send them over, then you can collect them into your Protector roster.
The value is not just recovery. Accumulating Protectors unlocks major buffs, including Curse Resistance boosts. For example, reaching key Protector thresholds can give enough resistance to make the difference between failing an objective and joining a successful alliance push.
Do not waste this power on low-value farming. Protector buffs matter most when your alliance is attacking Cities, contesting stronger Dig Sites, pushing through a difficult PvE threshold, or preparing for PvP pressure. Treat Protectors as a timing resource, not a passive number you spend without thinking.
- Ask alliance members to help recon fallen troops so Protectors return faster.
- Save major Protector thresholds for alliance objectives and serious fights.
- Use Protector buffs to bridge Curse Resistance gaps when timing matters.
Part 3: Push Goals, Build Alliance Center, and Greenify Efficiently
Your Season tab is not just a reward menu. Building the Protector's Field, upgrading the Curse Research Lab, and progressing through early Season 3 systems contribute to server and individual milestones. Individual goal progress can reward Oil, which remains one of the most valuable scarce resources for many accounts.
Your alliance should build the Alliance Center quickly. It creates a blue territory ring, similar in strategic importance to the Season 2 alliance furnace area. Inside this territory, your alliance can begin using Greenification to convert desert tiles and uncover hidden value across the map.
Greenification consumes stamina, so timing matters. If you need to spend stamina quickly during a Stamina Arms Race window, Greenification can be a strong option because it helps your event score while also expanding alliance utility and revealing treasures.
- Check Season goals daily so reward claims and milestone progress do not sit unnoticed.
- Prioritize Alliance Center construction because it enables safer map positioning.
- Use Greenification during stamina events when you need fast, productive stamina spending.
Part 4: Understand the Sandworm Crisis Before It Hits Your Base
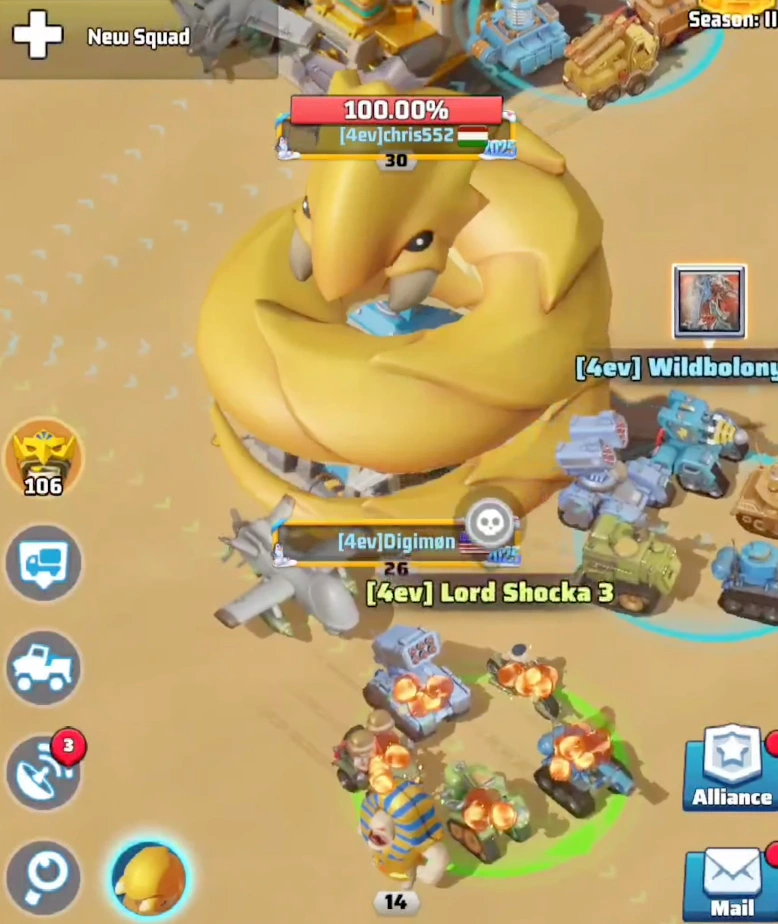
Sandworms are the headline PvE threat of Season 3 Week 1. When players fight single Mummies or rally Doom Elites, a circular gauge around the map UI begins filling. Once that gauge is full, the next rally can summon a Sandworm onto a random alliance member's base.
Small Sandworms wrap around a player's base and immobilize it. The trapped player cannot use troops normally, so alliance members need to rally the worm and free the base. Both the attackers and the player involved can receive rewards, making fast alliance response important.
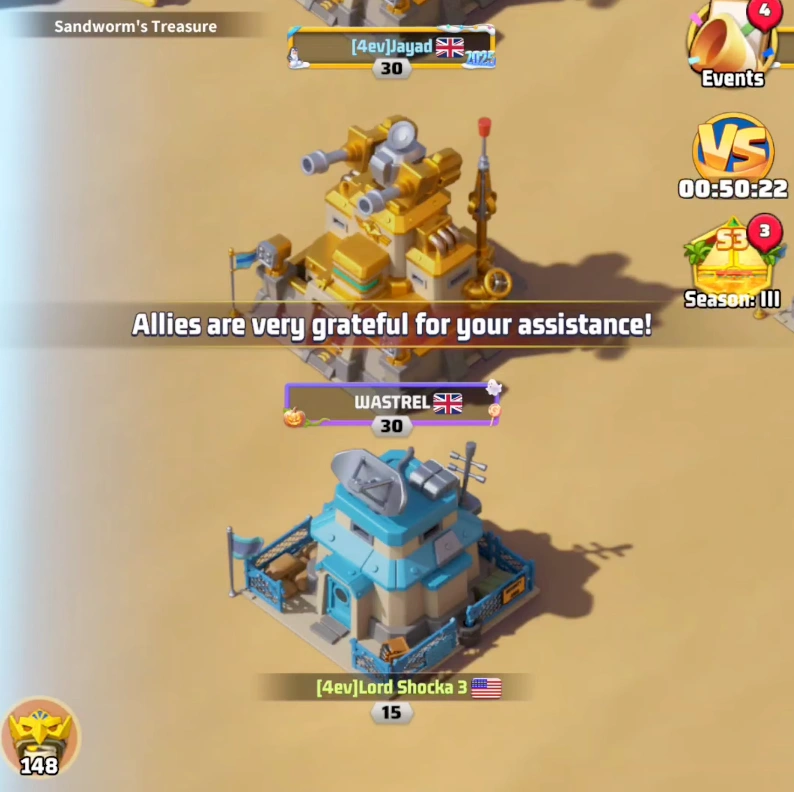
Large Sandworms are much more dangerous because they can knock a base across the map. The best counter is simple: keep your base inside the Alliance Center blue ring whenever possible. Alliance territory provides useful buffs such as durability and march speed, and it prevents giant Sandworms from teleporting your base away.
- Watch the Sandworm gauge when your alliance is farming Mummies or Doom Elites.
- Rally Small Sandworms quickly so trapped alliance members regain control.
- Park inside Alliance Center territory to avoid giant Sandworm knockbacks.
Part 5: Spend Sandworm Scales at the Desert Bazaar
Sandworm fights reward Sandworm Scales, and those scales become one of your first important exchange currencies in the Desert Bazaar. The Bazaar helps convert active alliance participation into materials that feed Season 3 progression.
Protector Horns are especially useful because they help summon Protectors instantly. Mithril supports your Blessing Fountain upgrades, while speedups and other seasonal materials help keep your Week 1 building loop from stalling. If your alliance is active with Sandworms, the Bazaar can become a meaningful part of your daily routine.
- Prioritize items that improve Curse Resistance progress or Protector timing.
- Use Mithril purchases to smooth Blessing Fountain upgrades if PvE farming is not enough.
- Do not ignore Bazaar value after Sandworm rallies; scales are only useful when exchanged.
Part 6: Expand from Dig Sites to Villages, Cities, and Altars
Season 3 map progression follows an outside-in structure. Alliances begin on the outer regions and gradually push toward stronger, more valuable center objectives. Your first targets are usually Level 1 Dig Sites, but even these should not be attacked blindly.
Before sending troops, check the target's Curse Resistance requirement. If your resistance is too low, you can suffer large losses even when your normal account power looks strong. After Dig Sites, alliances move toward Villages, Cities, and eventually stronger objectives such as Altars, which are generally guarded and time-gated.
Week 1 success depends on route discipline. Random fights can waste troops and time, while planned objective chains help your alliance unlock better territory, stronger rewards, and cleaner access to future Season 3 systems.
- Start with Dig Sites and use them to create a stable expansion path.
- Coordinate Villages and Cities through alliance leadership instead of random solo attacks.
- Treat Altars and higher-level objectives as resistance-gated alliance milestones.
Part 7: Profession Skills That Matter in Season 3
The Profession Hall still feels familiar if you played previous seasons, but Season 3 adds tactical value to several skills. Siege Mastery is valuable for frontline players because it increases damage against City durability, making it important during coordinated map pushes.
Contaminated Land Teleport can be a major tactical tool because it allows direct movement into contaminated areas without spending standard advanced teleports. That can matter during Warzone Duel pressure, surprise city attacks, or emergency positioning around contested objectives.
Double Conversion improves how efficiently fallen soldiers become Protectors. Since Protectors can become Curse Resistance and combat buffs, this skill supports the broader Season 3 loop rather than acting as an isolated bonus.
- Use Siege Mastery if your role is helping break City durability.
- Save Contaminated Land Teleport for tactical movement, not casual convenience.
- Value Double Conversion more highly if your alliance is actively using Protector mechanics.
Part 8: Weekly Pass vs. Season Battle Pass in Week 1
If you spend lightly, Week 1 has two obvious options. The Weekly Pass is the immediate acceleration choice because it adds a fourth Blessing Fountain, daily Protector Horns, a large Curse Resistance bonus, and faster zombie marching. That package is strongest when you are active every day and want faster Sacred Water and resistance progression.
The Season Battle Pass is broader and more long-term. It can provide Profession EXP, Mithril, tags, ore selection chests, drone parts, and other account-wide value. It is less focused on the first few days than the Weekly Pass, but it usually supports more total progression over the season.
The practical choice depends on your goal. If you need Week 1 momentum and will play daily, the Weekly Pass is hard to ignore. If you want wider season value, the Battle Pass is usually easier to justify.
| Option | Best For | Main Value |
|---|---|---|
| Weekly Pass | Active Week 1 players who want faster resistance progress | Fourth Blessing Fountain, Protector Horns, Curse Resistance, and zombie march speed |
| Season Battle Pass | Players who want broader long-term account value | Profession EXP, Mithril, tags, ore chests, drone parts, and season rewards |
Final Season 3 Week 1 Strategy
Season 3 Week 1 rewards players who build systems in the right order. Raise Sacred Water income, convert that income into Curse Resistance, collect and time Protectors carefully, keep your alliance territory active, and respect Sandworm positioning rules before they punish you.
If you want a simple opening plan, use this: upgrade Blessing Fountains, keep the Curse Research Lab moving, park in the Alliance Center ring, Greenify during stamina windows, rally Sandworms with your alliance, and check every target's resistance requirement before fighting. That foundation will carry you much more safely into the rest of the Golden Realm.
- Build Curse Resistance before chasing higher-level objectives.
- Use alliance systems daily because Season 3 is heavily cooperative.
- Protect your map position by staying inside alliance territory whenever possible.
Keep reading